
You can make a dog snuffle mat, honestly, it’s easier than it sounds, takes about an hour, and costs far less than buying one ready-made. You need something to use as a base, strips of fabric, and a way to attach them. That’s it, extremely simple, and once you have made one you will know exactly how to adjust the next version based on what your dog actually does with it.
I put off making one for longer than I should have because I thought it would involve proper sewing or some kind of skill I did not have. It does not. You are tying strips of fleece to a mat. That is it. The first one I made was scrappy and uneven and my dog loved it anyway. Here is how to do it, simply:-
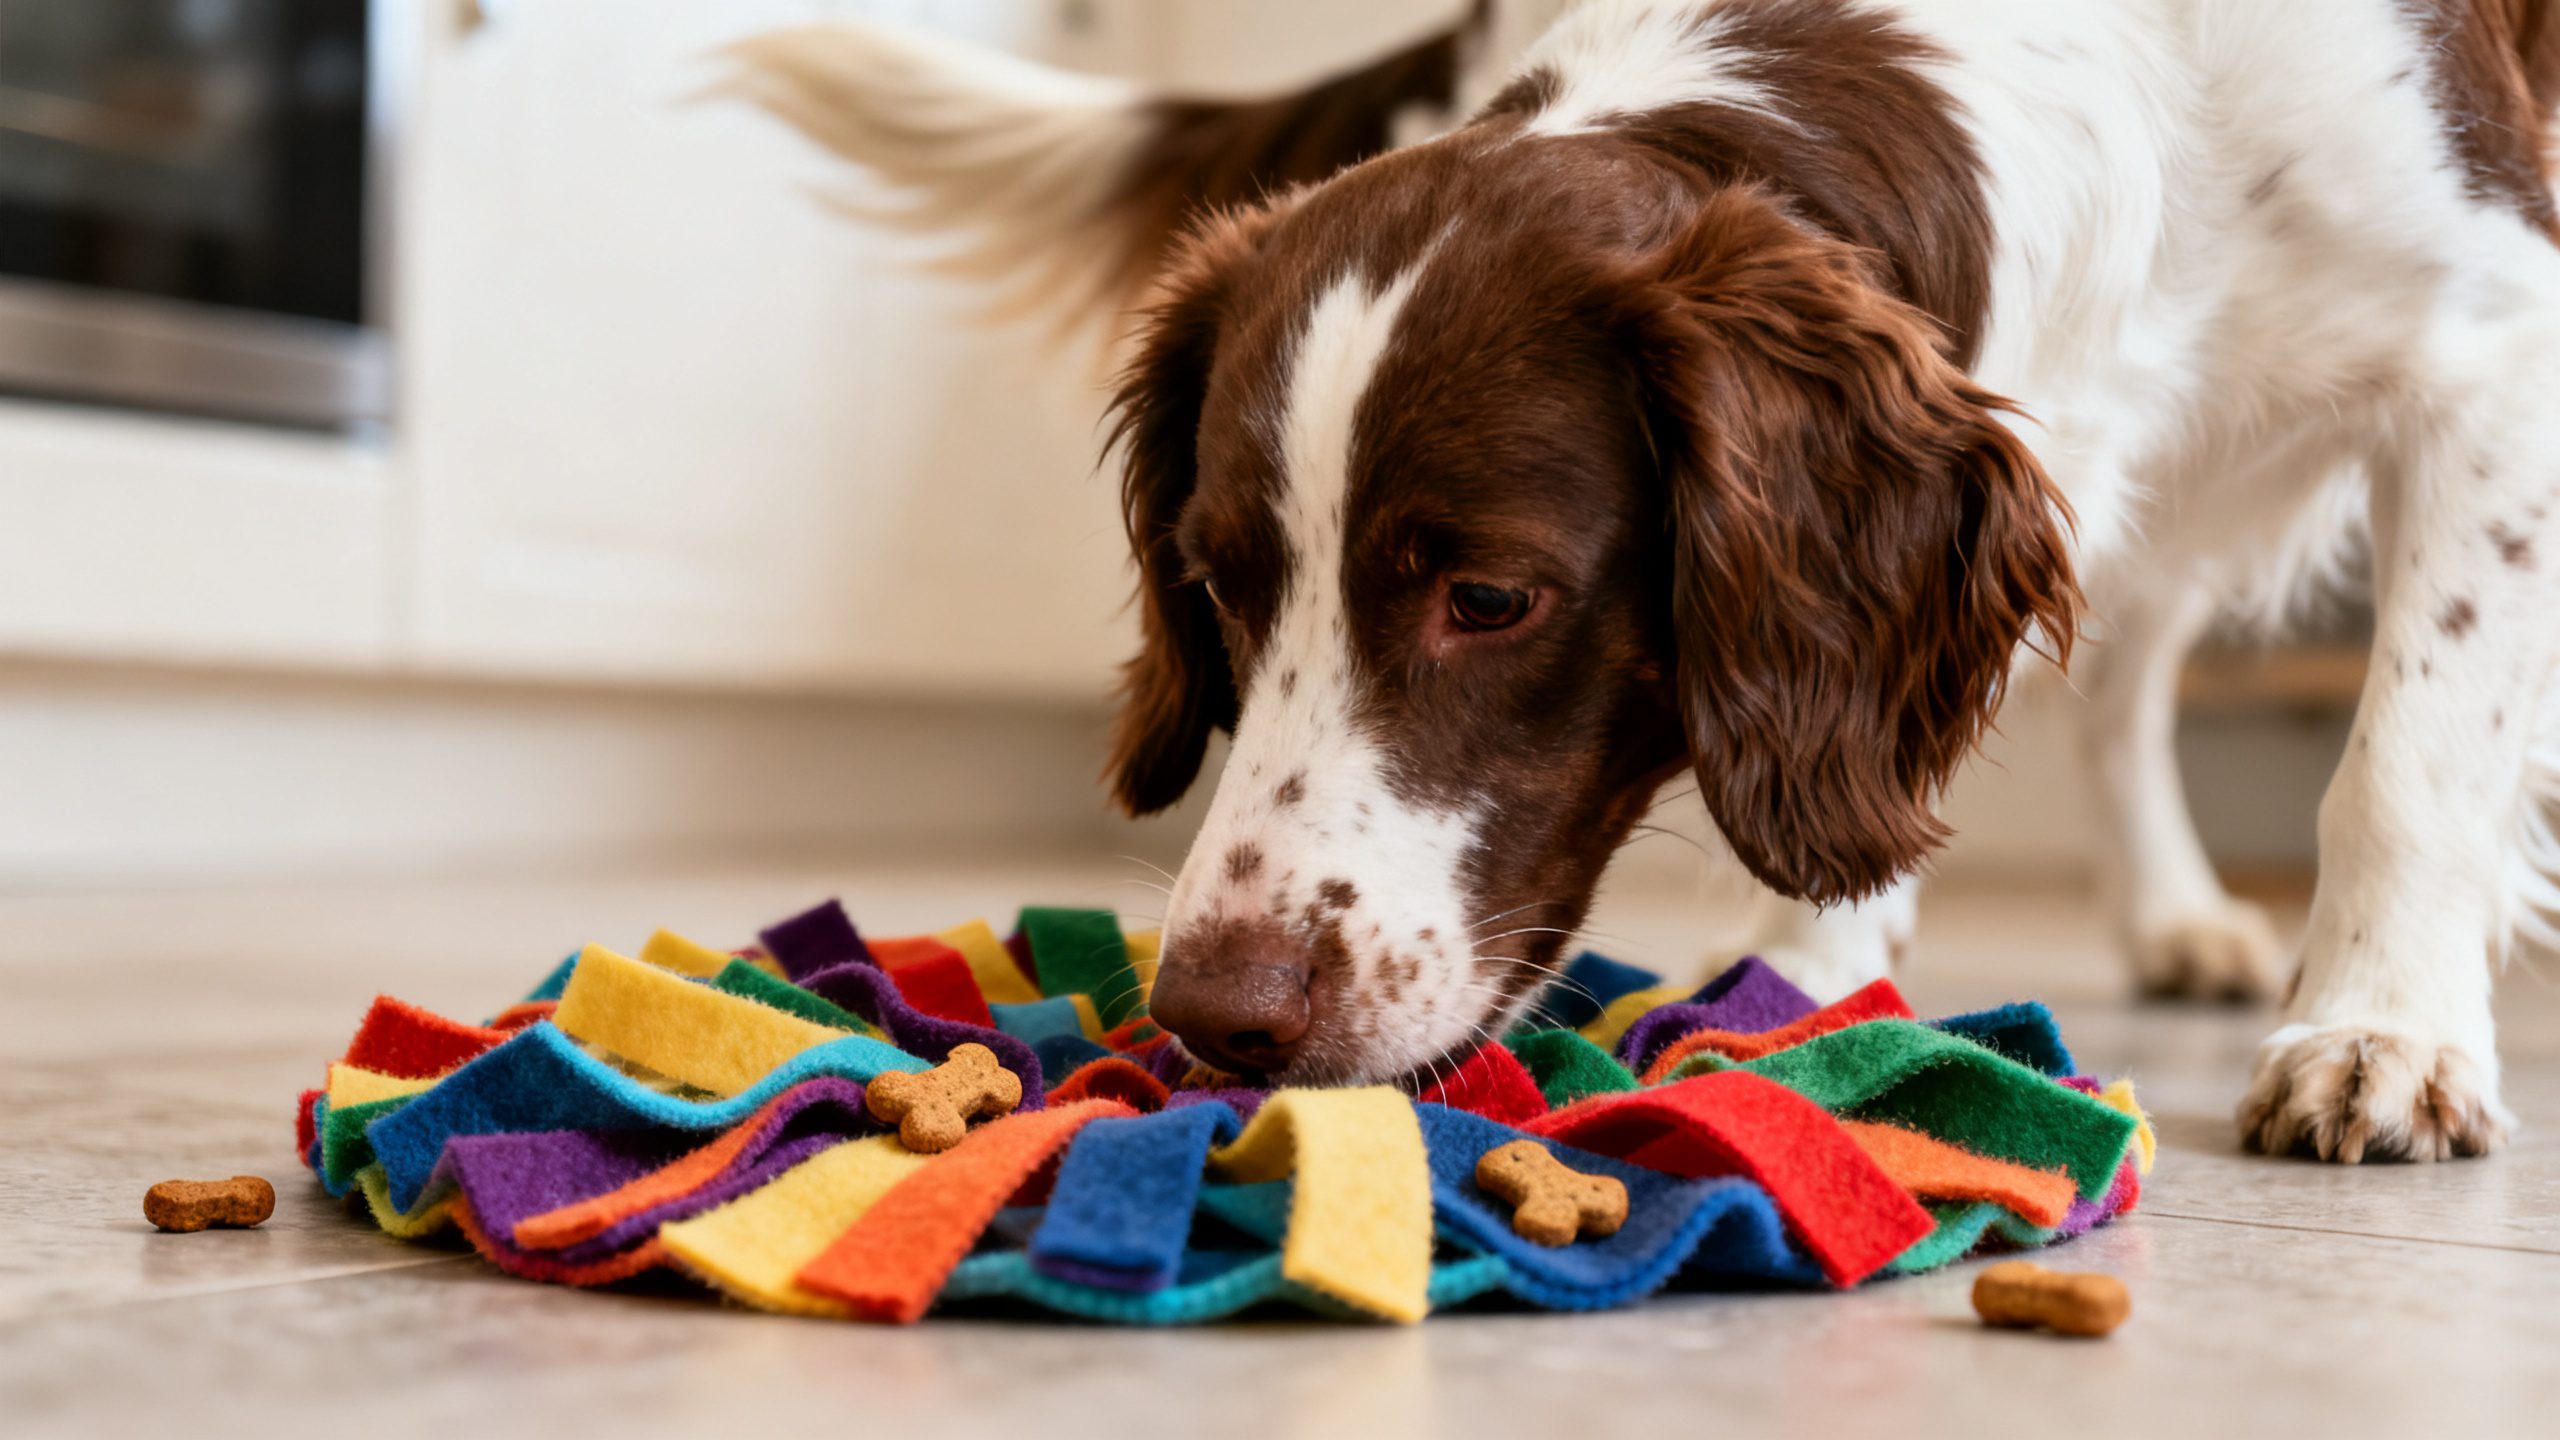
What You Need Before You Start
Three things, nothing complicated:
- A base mat with holes. A rubber sink mat with a grid pattern works well, the kind from a supermarket or hardware shop. A drainage mat does the same job. Avoid anything too thick or rigid as it makes the tying harder and the mat less flexible when you are done.
- Fleece fabric. It does not fray, it is soft, and it comes in colours that make the finished mat look more interesting than it needs to be. Buy fleece offcuts, use old blankets, jumpers, or pyjamas, or pick up a cheap fleece throw from a charity shop. All of those work fine.
- Fabric scissors. Kitchen scissors will do the job but slow things down. If your dog is older and the Dog Years to Human Years Calculator puts them well into their senior years, this kind of activity keeps their mind working without asking for much physically.
Cutting the Fabric Strips
Cut the fleece into strips roughly 20 to 25 centimetres long and 2 to 3 centimetres wide. They do not need to be exact. Slight variations in width or length will not affect how the mat works. If anything, the unevenness makes it more interesting for the dog because the texture is less uniform.
How many strips you need depends on the size of your base mat. For a standard sink mat around 30 by 40 centimetres, expect to cut between 100 and 150 strips. That sounds like a lot but it goes faster than you think once you get into a rhythm. I usually fold the fleece over a few times and cut multiple strips at once.
Tying the Strips to the Base
Take one strip of fleece and thread it under one of the holes in the mat so both ends come up through adjacent gaps. Pull it through until the two ends are roughly even, then tie them together in a simple double knot. Pull it snug but not tight. The knot should sit just above the surface of the mat.
Work your way across the mat, tying one strip at a time. You can do every hole or skip some depending on how dense you want the finished mat to be. I usually tie strips in every other hole for the first mat and see how it goes. If it looks too sparse once you are done, you can always go back and fill in the gaps.
There is no wrong pattern here. Some people work in rows. Some people work in sections. It makes no difference to the dog. Just keep tying until the mat is covered and the fabric stands upright enough to hide kibble or treats when you drop them in.
What to Do Once It Is Finished
Shake the mat out to fluff up the fabric and check that all the knots are secure. If any strips feel loose, retie them. The mat will get pulled around and chewed on, so anything that is not tied properly will come undone within the first few uses.
Before you use it with food, let your dog sniff it and get used to it as an object. Some dogs go straight in. Others need a minute to work out what it is. Once they seem comfortable, scatter a few pieces of their usual kibble or some small treats into the fabric and let them find it.
Start with easy placements on the first go. Drop the food on top of the fabric rather than burying it deep. Once they understand the idea, you can hide it further down. Most dogs pick it up quickly. The ones that do not tend to need a bit of encouragement or a stronger-smelling treat to begin with.
How to Make It Harder or Easier Depending on Your Dog
If your dog finds everything too quickly and loses interest:
- Tie the strips closer together so the fabric is denser and food is harder to locate.
- Use longer strips, which makes the mat taller and creates more layers to search through.
If your dog gets frustrated or gives up:
- Use fewer strips or tie them more loosely so the gaps are more obvious.
- Switch to larger treats that are easier to smell and spot.
Frustration kills the activity faster than anything else. If they are not enjoying it, simplify it until they are. Some dogs prefer a flatter mat. Some like it shaggy. The first mat is always a test version.
Things That Go Wrong and How to Avoid Them
- Tying the knots too tightly. If you pull the knots hard, the mat curls up and does not sit flat. Keep the knots snug but not strained. The mat should stay flexible.
- Using fabric that frays or shreds. Cotton works in theory but falls apart quickly, especially with dogs that chew while they forage. Fleece lasts longer and holds up better to repeated use and washing.
- Dogs that chew instead of sniff. Some dogs treat the mat like a toy rather than a puzzle. Supervise sessions and put it away between uses. If they are eating the fabric rather than searching through it, watch them and redirect early.
Washing and Maintaining the Mat
Snuffle mats get dirty. Food particles, drool, and outdoor debris all end up stuck in the fabric. Here is what to do:
- Shake the mat out after every use.
- Wash it every couple of weeks, or sooner if it starts to smell. Most mats go in the washing machine on a gentle cycle. Use a laundry bag to stop the strips tangling.
- Air dry rather than tumble dry. Heat can warp or damage the rubber base. If the base is particularly flimsy, hand wash it instead.
- Check the knots every few weeks. They do come loose over time, especially with dogs that are rough with the mat. Retie anything that has worked free before it falls out completely.
Why Homemade Works Just as Well as Bought
Bought snuffle mats are fine, but they are not better in any meaningful way. They cost more, and you have no control over the size, fabric type, or density. Making your own means you can adjust everything to suit your dog and remake it when it wears out without spending money each time.
The process is also straightforward enough that you can make a second mat in less time than the first. Once you know what works for your dog, you can replicate it or try a different size. There is no skill ceiling here. It is just fabric and knots.
When to Reach for It
A snuffle mat does not replace a walk or proper engagement, but it fills a gap when your dog needs something to do and you do not have the time or energy for much else. Ten minutes of foraging can take the edge off a restless dog or give an older dog something to focus on that does not ask them to move much.
I use mine more in winter when walks are shorter and the evenings are long. It keeps my dog busy without winding him up the way a toy or game might. He works through it, finds everything, and then settles, so it was definitely worth the hour it took to make.
This article is for informational purposes only. For advice specific to your dog always speak to your vet.